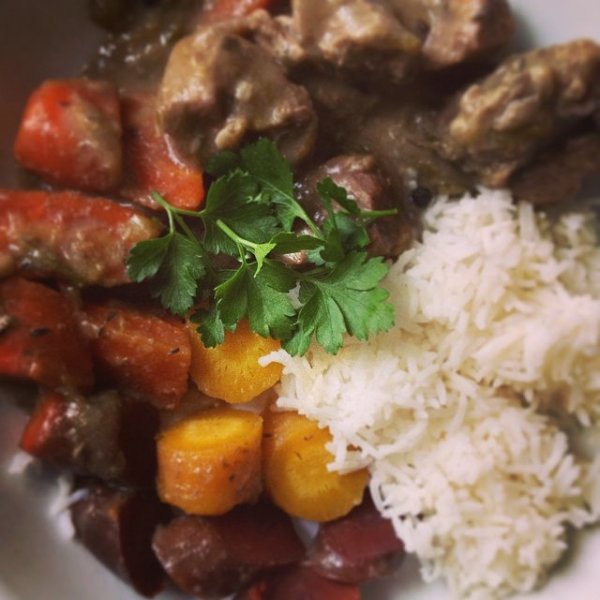
How to make Veal Blanquette and Carrots?
This recipe takes 50 minutes for 6 servings, medium difficulty.
Make a delicious veal blanquette and carrots at home. Ready in 50 minutes. Easy. Serves 6. With 800 gr d'épaule de veau, 800 gr of veal shoulder, 800 gr de p...
20 min
Prep time
30 min
Cook time
6
Servings
Medium
Difficulty
50 min
Total time
Lunch
Meal type
What ingredients for Veal Blanquette and Carrots?
How to prepare Veal Blanquette and Carrots?
-
1
Cut the meat into regular pieces, 2 per person.
-
2
Let the meat deglaze for 15 or 20 minutes in cold water if you want a very white blanquette.
-
3
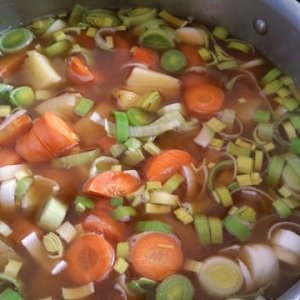
Put the meat in the pot with the wine, salt, peppercorns, carrot, onions pierced with cloves of cinnamon, garlic cloves, and bouquet garni.
-
4
Add cold water to cover the meat.
-
5
Place the pot on the stove but do not heat up too quickly.
-
6
Skim before boiling.
-
7
Boil very gently for 1 hour, pot well covered.
-
8
Melt the butter in another pot, add the flour, and cook slowly for a few minutes to make a white roux.
-
9
While doing this, continuously monitor and strain the meat broth through a fine-mesh strainer.
-
10
Keep the meat warm in its pot.
-
11
Dilute the white roux with the strained broth.
-
12
Add the meat pieces, cook for 20 to 30 minutes.
-
13
Check the seasoning before the end of cooking.
-
14
Put a yolk in a bowl.
-
15
Gradually thin it with some warm sauce and pour this preparation into the sauce (when it is no longer boiling).
-
16
Thicken by stirring for a few moments on very low heat.
-
17
Pour the blanquette into a shallow dish and serve.
-
18
To enhance the taste of the blanquette at the last minute, you can add a drop of lemon juice.
-
19
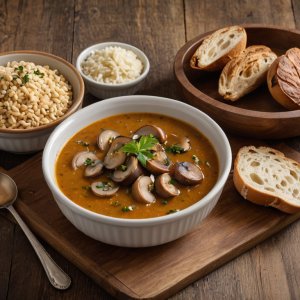
You can also add mushrooms to this preparation: clean them just before use, cut them into pieces if necessary, and put them in the sauce along with the meat.
-
20
They will be cooked in 20 minutes.
-
21
For an exceptionally well-prepared blanquette, you can add 2 or 3 tablespoons of fresh cream to the egg yolk for thickening.
-
22
No lemon juice in this case.
Did you try this recipe?
Give your opinion and help other users!
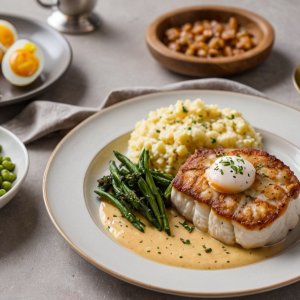
Community photos
Did you try this recipe?
Frequently asked questions
Preparation takes 20 minutes and cooking takes 30 minutes, for a total of 50 minutes.
This recipe serves 6 people. You can adjust the quantities directly on the page.
This recipe is medium difficulty. It is suitable for cooks with some basic skills.


Comments 0
Be the first to comment on this recipe!